Winter has arrived and many parts of the country are already encountering snow and ice. Keeping walkways and driveways clear can be a difficult task, but necessary to minimize the risk of injury and accidents due to slippery surfaces.
Spreading rock salt is the standard material used for treating icy paths (there are also eco-friendly alternatives available if you don’t want to use traditional rock salt including liquid formulations that can be applied with a sprayer.) Knowing how and when to use these products can help you get the most yield from the least amount of product. After all, we all know how challenging it can be to find rock salt when a storm is approaching and how bulky the bags are. Using less product not only saves money but can also reduce frustration! Check out these tips for effectively treating grounds with rock salt.
- Sow before the Snow.
The best time to treat the ground is before snowfall begins. Treating areas before snow (and freezing rain/ice) begins can help prevent ice from forming and prevent snow from settling. Because salt has a lower freezing point than water, it reduces the opportunities for moisture to freeze on treated surfaces. - Shovel more. Salt less.
Salt does wonders for melting snow and ice, but can only do so much when there are large amounts of snow. Keeping up with the snow as it falls can help slow or prevent ice from developing and may reduce the amount of salt needed. A shovel that has a long, bent handle doesn’t require users to stoop over as much, helping avoid back strain. Doctors also recommend taking frequent breaks from shoveling to guard against overexerting yourself. If snow has accumulated (and hardened), spreading salt on the top of the snow can help weaken the pile allowing it to be moved more easily. - Temperature matters.
Most salts stop working when pavement temperatures fall below 15 degrees Fahrenheit. Instead of salt, a small amount of sand (or cat litter) can be used; it won’t melt the ice but can help with traction. - Let a spreader do the work.
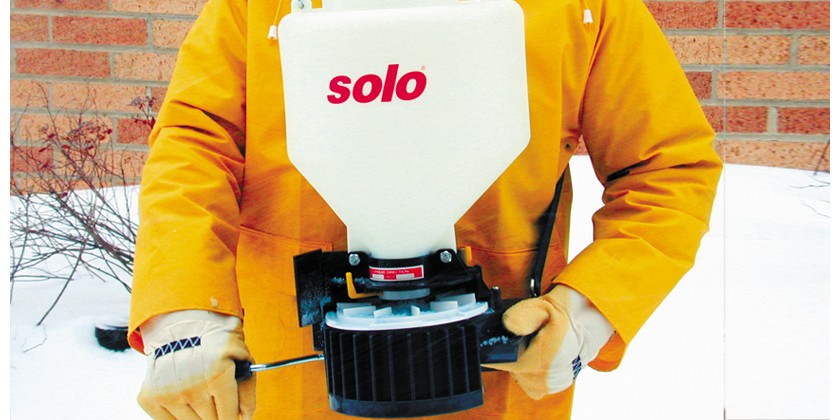
While rock salt can be manually spread using a shovel or scoop, a garden spreader is much easier to use. An added benefit is that a spreader gives you excellent control over the amount of salt being dispersed. It’s important to understand that using more salt does not cause more melting. Only four pounds of salt is needed for every 1,000 square feet being treated. If salt crystals are visible after the surface has dried, you have used too much salt and can use less the next time. - Clean up after the storm.
It’s important to know that after a snowstorm the salt doesn’t just disappear, it melts into nearby creeks, wetlands and lakes. It doesn’t take a lot of salt to cause problems to the environment, even small amounts can disrupt aquatic life. Sweep up any extra salt and reuse it next time, or dispose of it properly.
Also remember to use safety precautions when spreading salt. Use gloves to help protect your skin, and be careful when navigating slippery areas. Ice that thaws during the day may refreeze at night, so regularly check surfaces that may need to be retreated. Enjoy the snow!
For information on solo spreaders see: us.solo.global